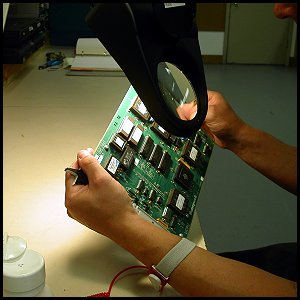
Step 1 – Cleaning and InspectionWe examine parts for damage, broken components, evidence of corrosion, and revision (issue number). Items with damage, corrosion, or which don’t meet minimum revision requirements are scrapped. Items in good condition which meet minimum revision requirements proceed to the next step. WPC replaces electrolytic capacitors on power supplies and PWA where necessary. We employ anti-static handling procedures during all phases of processing a part. |
|
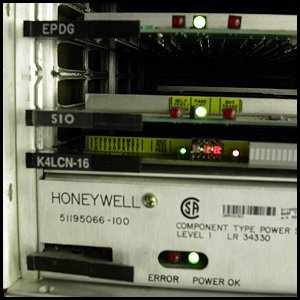
Step 2 – Power Up and Self-TestWe next install the part in the appropriate test chassis and power it up, then monitor the assembly for proper initial operation. If the item under test performs a self-test, passage of this test completes Step 2. If the item does not have a self-test, it is checked for proper initial operation. |
 |
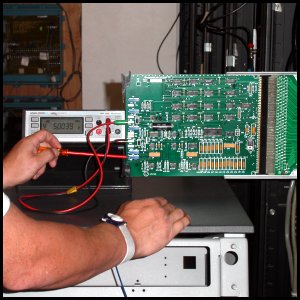
Step 3 – System TestDuring the system test we subject the part to a thorough test of its functionality, specific to the part. This may involve calibration, verifying I/O channels, verifying output voltages and ripple specifications, running HVTS or other diagnostic software, and otherwise exercising the part over its full range of operating capabilities. Items which pass this phase proceed to the burn-in phase of testing. |
|
Step 4 – 48-Hour Burn-inItems which pass the initial system test operate in the test chassis for a minimum of 48 hours prior to the final test. |
|

Step 5 – Final Test and CertificationAfter the minimum 48-hour burn-in phase, we repeat the complete test of the item’s functionality as described in Step 3. If the part passes all phases of the final test, we issue the test certificate for the part and prepare it for shipment to the customer. We carefully package each item to prevent handling damage from static electricity and physical damage during transportation. |
 |